How to Make Minecraft Look Like the Trailers
Get the look of Minecraft’s trailers and promos in-game.
The 'Trailer Look'
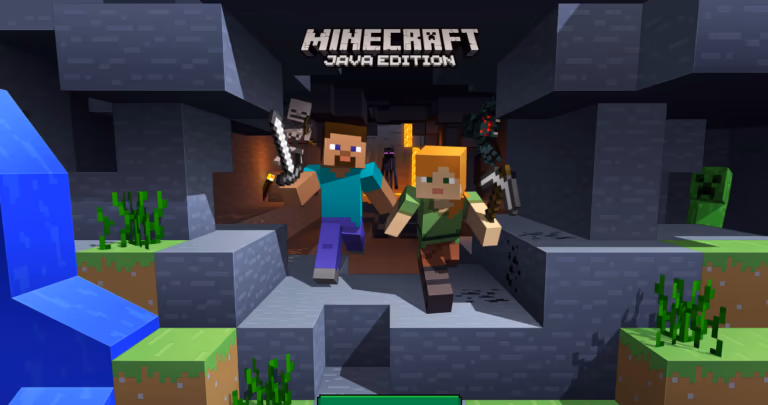
Have you ever wondered why the promotions and trailers for Minecraft look almost nothing like the game itself? Everything in those animations is smooth, simple and vibrant – in comparison to the game, which has pixelated textures and dull colors.
If you find yourself drawn to how it looks in the promos, then there’s good news: using mods, you can accomplish a very close approximation to the art style that Mojang uses to promote its game.
Keep in mind, this method only works for Java Edition (as opposed to Bedrock/PE/Console). You’ll need two texture packs and one shader pack, in addition to Optifine. Read on to learn how.
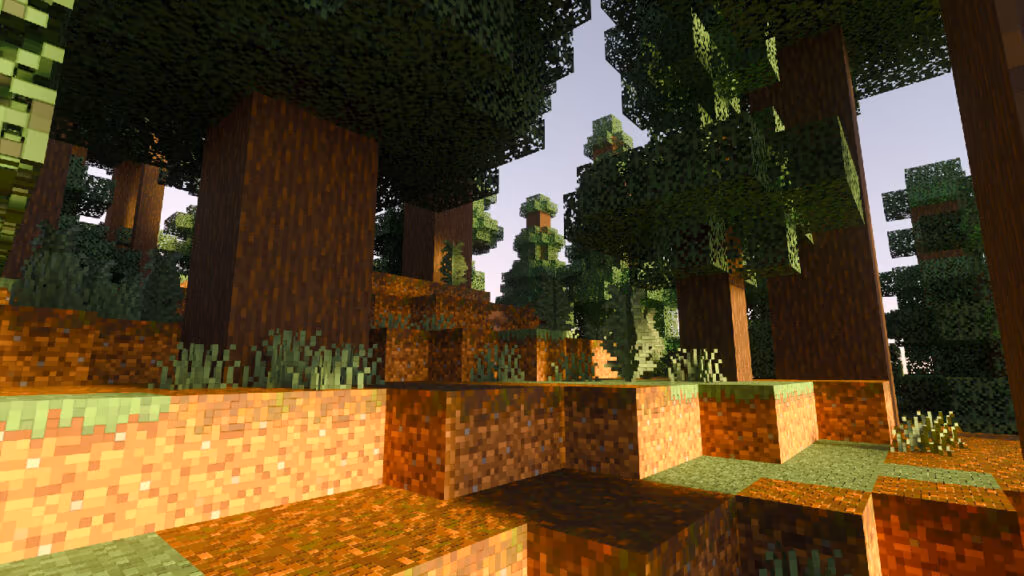
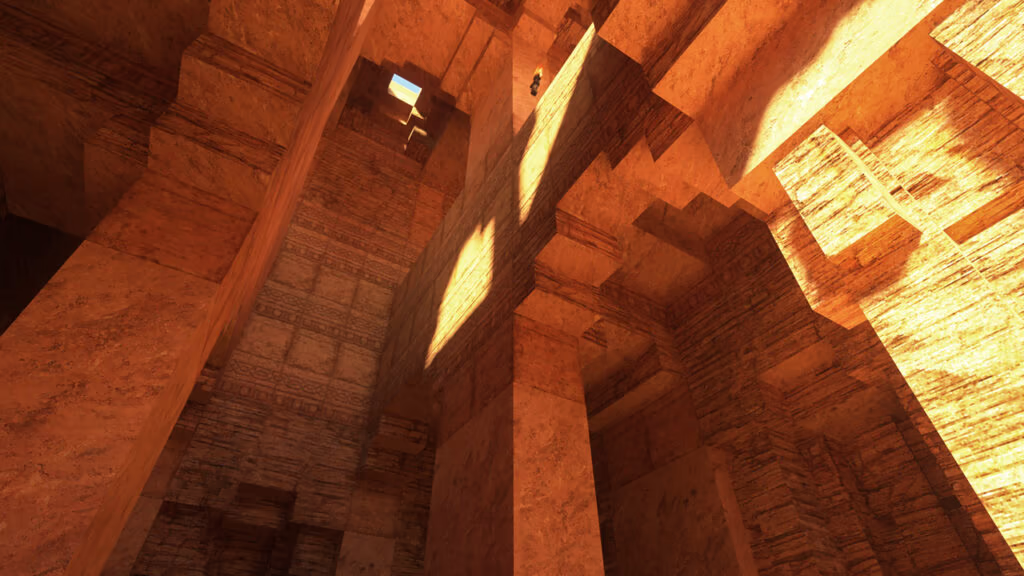
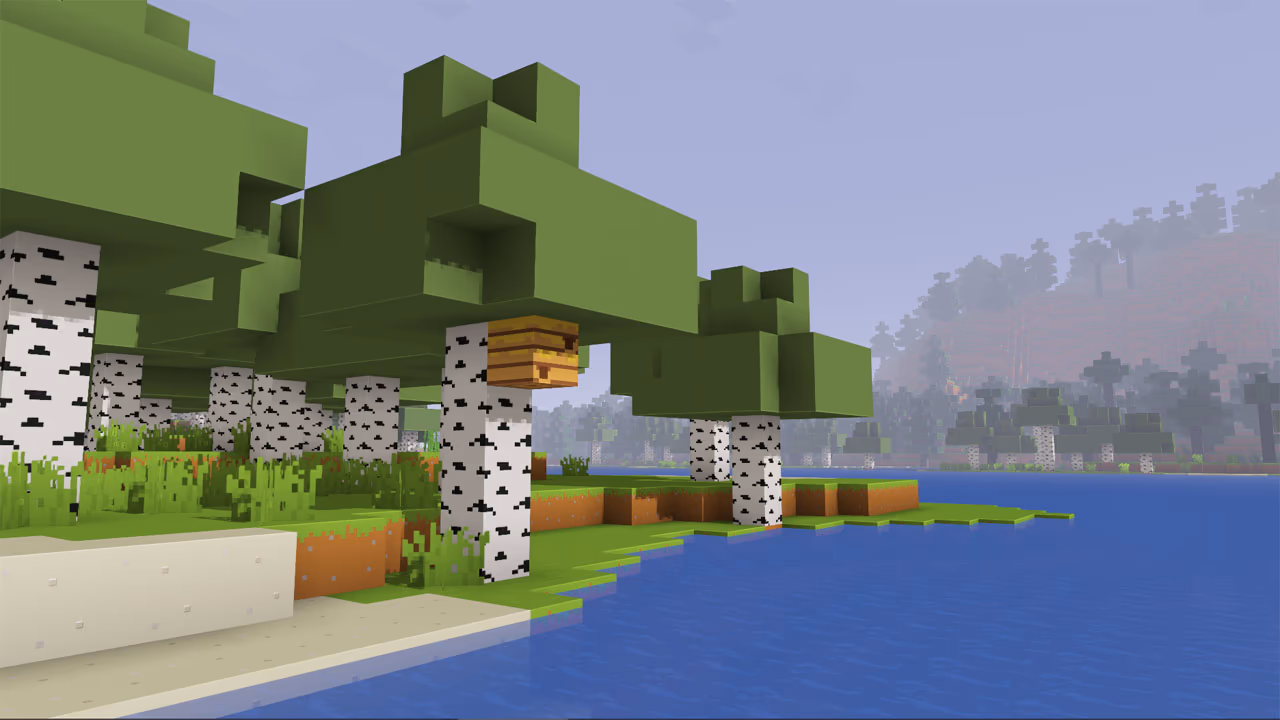
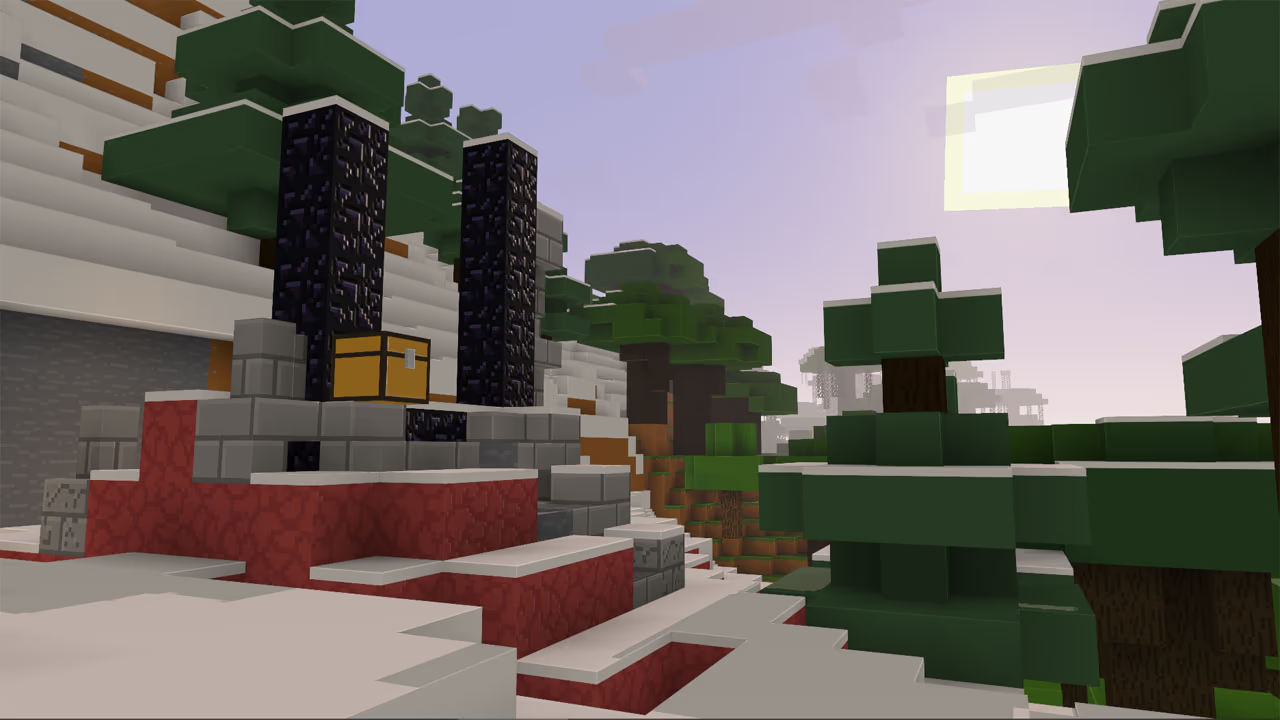
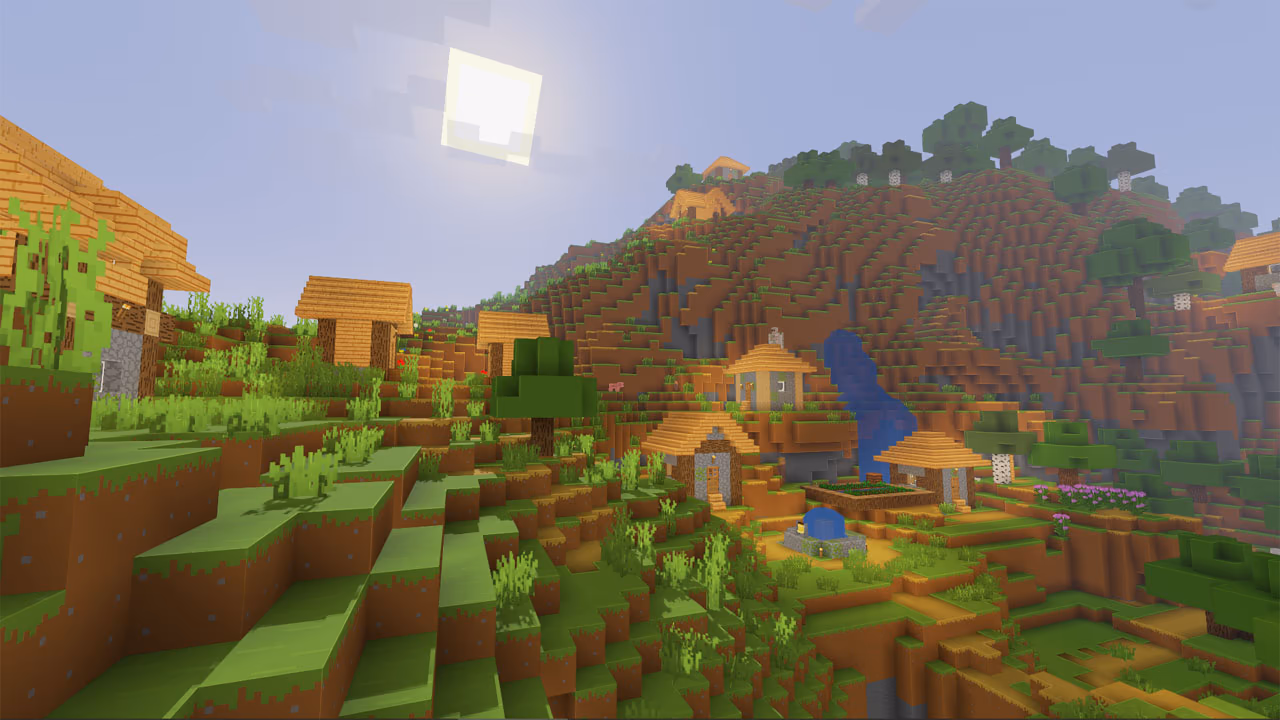
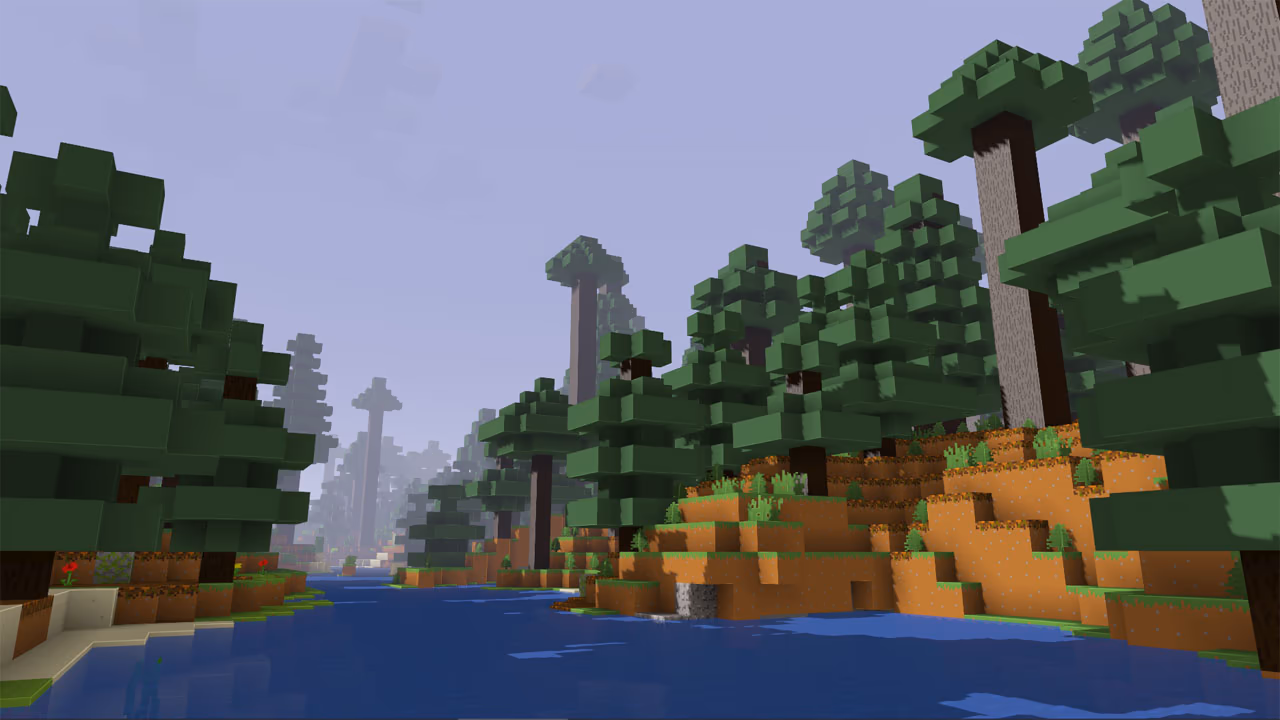
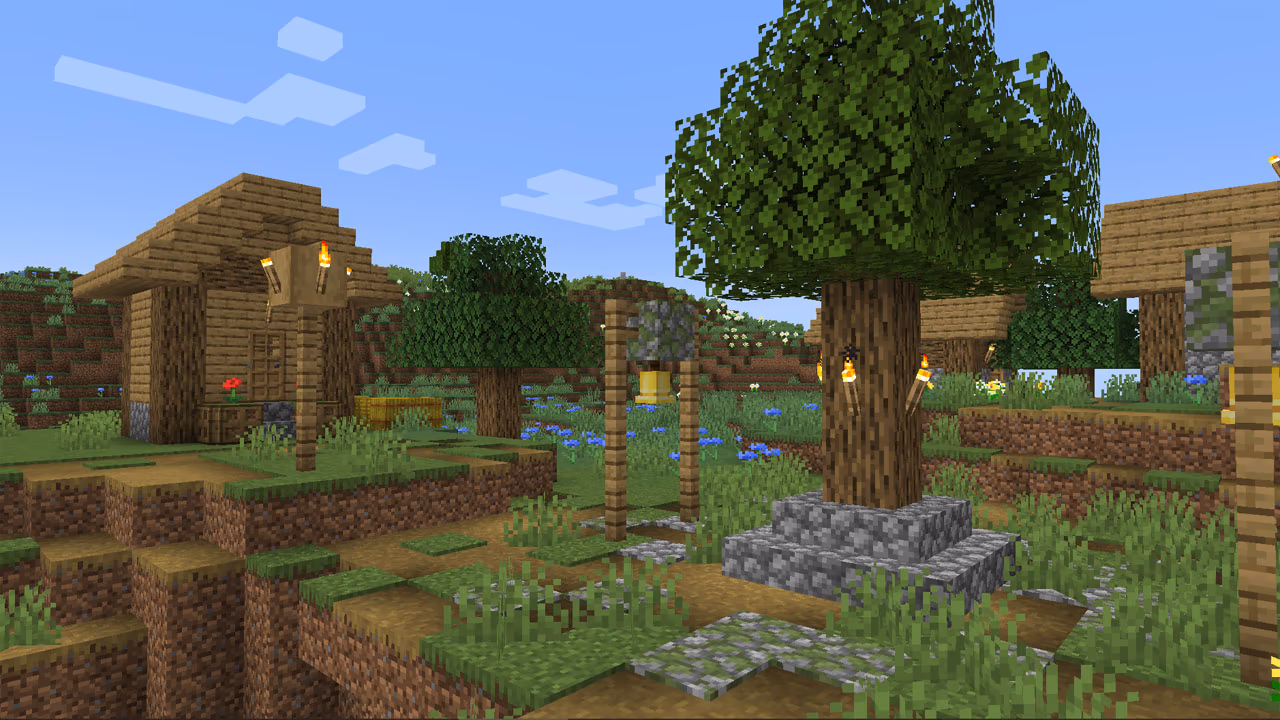
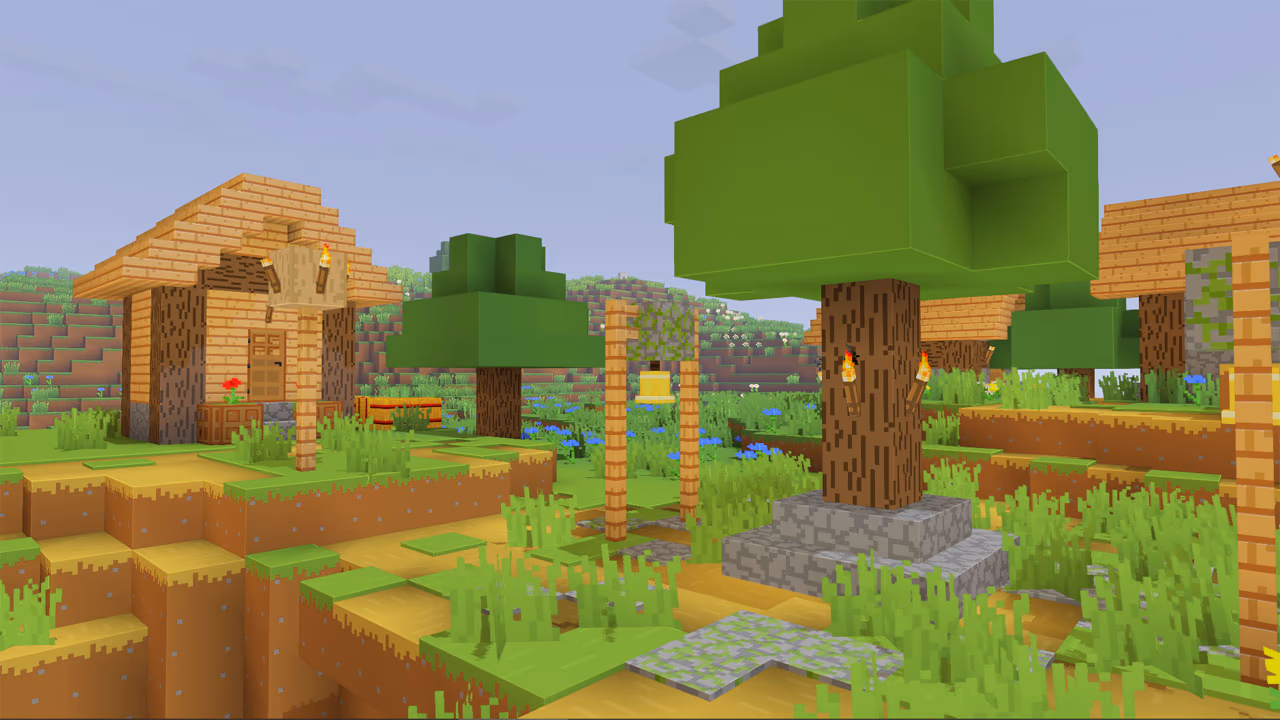
Once you’ve finished this tutorial, you should get a result that looks like this:
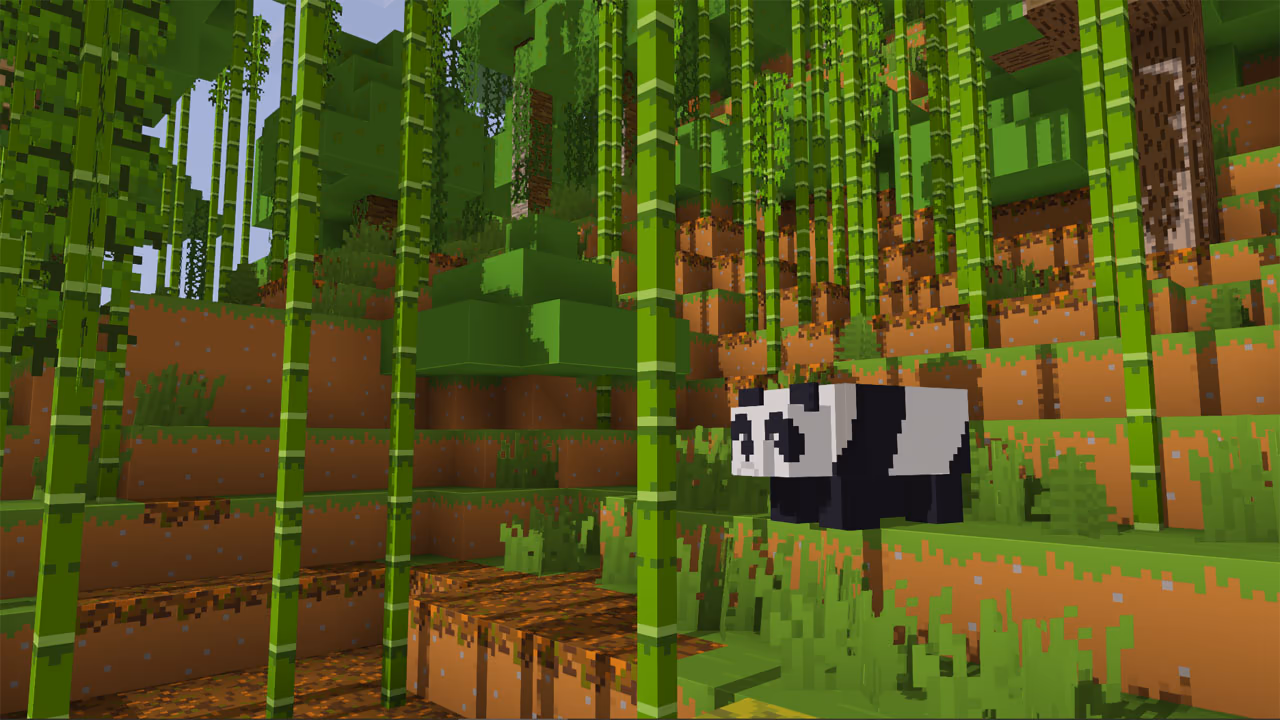
Here you can see a comparison of the default game versus the trailer look.
Instructions
Step 1: Install Optifine
First, you’ll need to have OptiFine installed from OptiFine.net. This is a general-purpose mod that enables a wide range of new functionality – important for this tutorial being the shader support.
For a tutorial on how to Install Optifine, refer to this video guide.
Step 2: Install resource packs
Next up you’ll need to install three texture packs:
- Bare Bones, a pack designed to replicate the simple, smooth textures that Mojang uses in its promo material.
- Fresh Animations, a pack designed to give smooth and expressive mob animations similar to the trailers.
- Bare Bones x Fresh Animations, a pack necessary to make the two prior packs compatible with each other.
Step 3: Install shader pack
In addition to the textures, Minecraft’s promotional images also have realistic lighting with shadows and reflections. To accomplish this, we’ll need a shader pack. There are many to choose from, however one that we find works very well for this purpose is Simplicissimus.
To download a shader, you’ll need to locate the location to save the shader pack files to. Be sure that you’ve loaded Minecraft in the OptiFine profile. Go to Options > Video Settings > Shaders > Shaders Folder. It will open the necessary shader pack folder.
Click the button to download the shader. Save it to the shader pack folder you’ve just opened.
Now, back in Minecraft, apply the shader pack in the shaders menu.
Optionally, you may want to disable custom skies in OptiFine's settings, since Bare Bone's sky doesn't cooperate well with the shaders. Navigate to Options > Video Settings > Quality, and set “Custom Sky” to Off.
Step 4: Enjoy!
Now you’re all set – just create a new world and see the fantastic effect that this combination of mods creates. No longer is this style relegated to the imagination of Minecraft’s marketing department!