How to Enable RTX in Minecraft Bedrock
Having trouble enabling RTX on your own worlds in Minecraft Bedrock? We’re here to help.
Overview
In late 2020, to much fanfare, Minecraft released the official RTX (ray tracing) update to the Bedrock platform – giving newfound graphical capabilities to users with RTX-capable graphics cards.Many years on, however, and it’s still frustratingly difficult to actually use these new features – even if you have the right graphics card. Not to worry – we’re here to show you exactly how in this tutorial.
If you’re a user of Java, then this guide isn’t necessary – there are plenty of great shaders created by the community which don’t need specific graphics cards to run. However, if you’re on Bedrock, then that’s a different story. Now that the Bedrock platform is moving to the new Render Dragon, third party Bedrock shaders are no longer possible – so RTX is now your only hope of using shaders on Bedrock. There is still no way to enable RTX on computers with graphics cards that don’t support it, even if you would have been fine with lower framerates. So be sure that you have an RTX-compatible graphics card.
The key point of confusion when enabling RTX comes from the fact that Minecraft, for some reason, chose to limit RTX usage to third party texture packs – inexplicably, they didn’t add RTX support in the default texture pack. So what this means is that you’ll need to download a dedicated texture pack in order to enable the features.
Different ways to enable RTX
The easiest way download use ray tracing is to download one of the free RTX worlds in the Minecraft Marketplace, which come bundled with their own ray traced texture packs. However, this doesn’t help if you want to use RTX in your own worlds, or if you aren’t satisfied with the included ones. For that, you’ll need to download one from the internet.
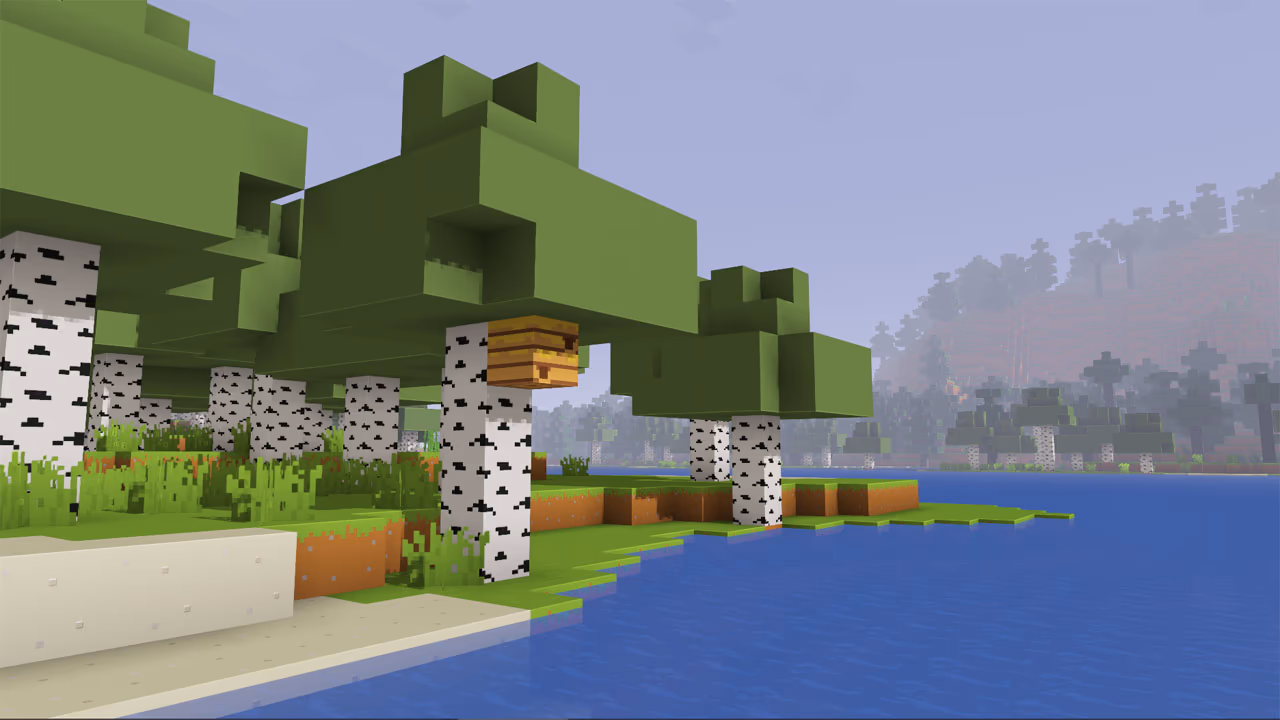
If you’d just like a no-frills RTX enabled Minecraft experience, just as you’d expect the default game should be when playing with an RTX graphics card, then the best option is Kelly’s RTX Conversion Pack. This pack doesn’t change any of the default textures, but rather adds bump and specular mapping to the default textures in order to give everything that almost tangible RTX look. Kelly’s RTX Conversion Pack’s implementation is fantastic – it’s subtle enough to feel vanilla, but still strong enough to really make everything pop. It makes the game feel like what RTX should have to start with.
How to download
To download the RTX conversion pack, follow these instructions:
- Head over to this link to download Kelly’s RTX Conversion Pack.
- Save it to your computer, then double click the file. Minecraft should open and automatically install it.
- In Minecraft, go to settings > global resources > my packs, and click apply.
- Alternatively, you can apply the pack for only one specific world, by going to the world edit menu > resource packs > my packs, and applying.
- Make sure ray tracing is enabled in the video settings.
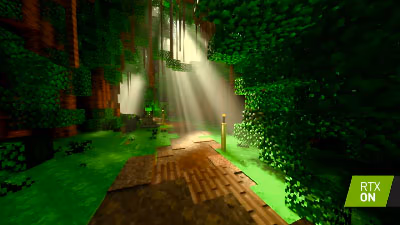
Now you should be all set. Enjoy those beautiful ray-traced shadows and reflections in any world you desire!